
The panel for this in the application looks like the figure below.
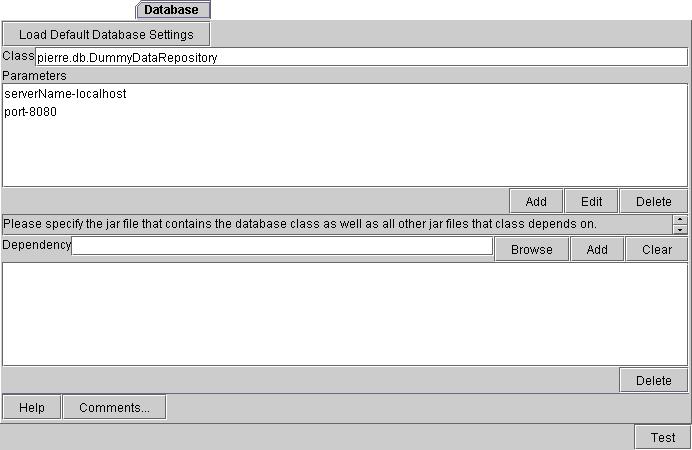
Load Default Database Settings: allows a default behaviour for a dummy database hook up. This is why the Class and Parameters fields have the values in them that you will see initially.
Class: This is a free text field in which to enter the name of the database class.
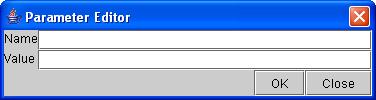
Parameters: This is field to list any parameters associated with the class. This field has three buttons associated with it: Add, Edit, and Delete. To add a parameter, click on Add. A dialog will appear like the one shown below. The two fields are Name and Value for the name and value of the parameter respectively. Fill these in and then click Close. the name and the value will now appear in the Parameters field. To edit any entry in the list, select the entry and then click Edit. A dialog like the one for Add will appear with the values to be changed. To delete an entry from the list, select the entry and click Delete. When you are done, click Close. The dialog will dissappear.
Dependency: is a two part field for the .jar file that contains the database class and any other class that it depends on. The first part is a free text field that can be filled either with free text or by selecting browsing. clicking Browse will cause a dialog box to appear prompting for file selection. Once a .jar file has been been selected, click Add. This will add the .jar file to a list that appears in the second part of the Dependency field. Clicking Clear will clear the entry in the first field. To delete a.jar file, select the file to be deleted from the list and click Delete.
Help: Clicking this button brings up a window with help on filling in the given tab.
Comments...: clicking this button allows you to add specific comments for this tab. A dialog will appear like the one shown below.
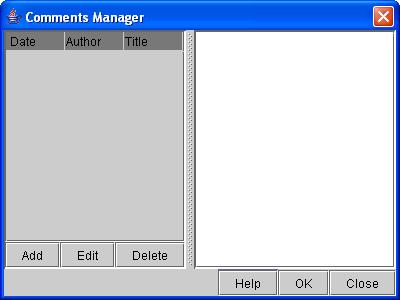
The left hand side will list the comments that have already been added while the right hand side will display the comment that you have selected from the left. To add a new comment, click Add and a second dialog will appear like the one below. Selecting a comment on the left hand side and clicking Edit will allow you to change an existing comment while clicking Delete will remove it from the list. Clicking Help brings up a window with information about filling in the dialog. To close the dialog and save your changes, click OK. To close the dialog without saving any changes, click Close.
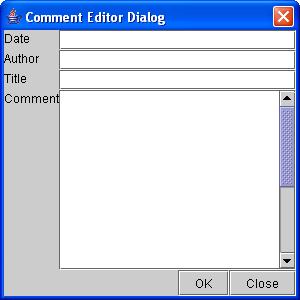
This dialog allows you to enter information for Title, Author, Date, and Comment. To close the dialog and save your changes, click OK. To close the dialog without saving any changes, click Close.
Test: Clicking this button will generate a sample front end application with the current values in the service design. Note that this test front end will look like the standalone application and will not provide you with samples of the other front end deployments.